Table of Contents:
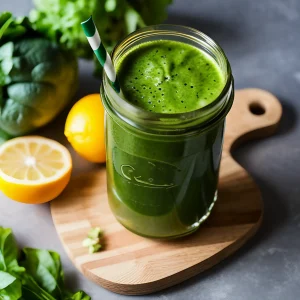
Green juices are becoming a go-to for health enthusiasts and wellness seekers alike. Why? Because they pack a nutritious punch in every sip!
With the rise of homemade green juices, more people are discovering the convenience and benefits of juicing right in their own kitchens.
If you’ve been considering adding green juices to your diet, you’re in the right place. This guide will walk you through everything you need to know about making delicious and healthy green juices at home. Ready to get started? Let’s jump in!
The Basics: Why Green Juices?
Green juices offer a wealth of vitamins, minerals, and antioxidants that can boost your health. Green juices are particularly beneficial because they provide these nutrients in an easily digestible form. This means your body can quickly absorb all the goodness, giving you an instant health boost.
Incorporating green juices into your daily routine can help fill nutritional gaps in your diet. They can be especially helpful if you struggle to consume the recommended 3 servings of fruits and vegetables each day.
While green juices are an excellent way to boost your intake of essential nutrients, you might wonder if they are more beneficial than eating whole vegetables. To explore this question in more detail, check out our article on Is Drinking a Green Juice Better Than Eating Vegetables?
The nutrients in green juices can supplement your diet, ensuring you get enough vitamins A, C, K, and folate, as well as minerals like potassium and magnesium. Plus, they are an excellent way to stay hydrated while enjoying a delicious beverage.
Getting Started: Essential Ingredients
To make the perfect green juice, you need to start with the right ingredients. Here’s a list of must-have items to keep in your kitchen:
- Kale: Packed with antioxidants, fiber, and omega-3 fatty acids.
- Cucumber: High in water content, promotes hydration, and contains potassium and magnesium.
- Celery: Contains vitamins A, K, and C, and acts as a natural diuretic.
- Green Apples: Adds a touch of sweetness while providing fiber and vitamin C.
- Lemon: Enhances flavor and is an excellent source of vitamin C.
- Ginger: Adds a zingy kick and has anti-inflammatory properties.
When you combine these ingredients, you create a nutrient-dense beverage that supports your overall health. Feel free to experiment with different combinations to find your favorite flavors.
Kitchen Tools and Preparation
Before you start juicing, it’s important to have the right tools. Here’s what you’ll need:
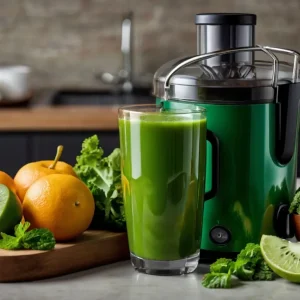
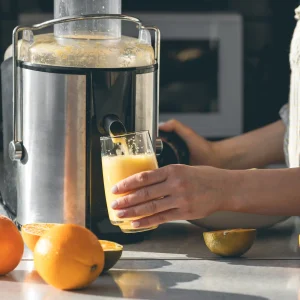
- Cold Press Juicer: Also known as a masticating juicer, this tool extracts juice by crushing and pressing fruits and vegetables, preserving their nutrients.
- Cutting Board and Knife: Essential for chopping up your ingredients before juicing.
- Baking Soda and Vinegar: A must for cleaning your fruits and vegetables off before juicing to remove any dirt, debris, or chemicals that may have been used on your produce.
Cleaning Your Produce
- Fill up your sink or a large bowl with water and add in your produce.
- Sprinkle baking soda on your produce and let it sit for 5-10 minutes.
- Rinse off your produce and add vinegar to the water.
- Let it sit for another 5-10 minutes.
- Rinse and juice!
Taking the time to properly clean and prepare your ingredients ensures that your green juices are as fresh and nutritious as possible without any unwanted chemicals or pesticides that may be on your produce.
Advanced Tips
Once you’ve mastered the basics, it’s time to take your green juicing to the next level. Here are some advanced tips to enhance the flavor and nutritional value of your juices:
- Add Limes to Your Juices: Limes act as a natural preservative, keeping your juices fresh for longer when stored.
- Experiment with Herbs: Fresh herbs like parsley, basil, and cilantro can add unique flavors and additional health benefits.
- Incorporate Different Vegetables: Don’t be afraid to try vegetables like zucchini, broccoli, or Swiss chard for a different taste and nutritional profile.
Storing and Consuming Green Juices
To get the most out of your green juices, it’s important to store them properly. Here are some best practices:
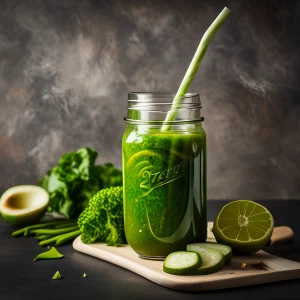
- Use Airtight Containers: Fill your green juices all the way to the top in airtight glass containers to preserve their freshness and prevent oxidation.
- Refrigerate Immediately: Keep your juices in the refrigerator and try to consume them within 24-72 hours for maximum nutrient retention.
- Avoid Exposure to Light and Heat: Store your juices in a cool, dark place to prevent nutrient degradation.
When it comes to consuming green juices, consistency is key. Aim to incorporate them into your daily routine for the best results. Drinking green juice first thing in the morning can be a great way to kickstart your day and boost your energy levels. Alternatively, enjoy a glass as a mid-afternoon pick-me-up to stay energized and focused.
Conclusion
Making green juices at home is a rewarding and health-boosting practice. From improving your nutrient intake to supporting your overall well-being, the benefits are endless. We hope this guide has inspired you to start your green juice journey and explore the delicious possibilities.
We’d love to hear about your experiences and favorite recipes. Share your green juice creations with us and join our community of health enthusiasts. For more tips, recipes, and updates, subscribe to our newsletter and stay connected.
Happy juicing!

